こちらの記事を丸っと参考にさせていただいて
【UE5】シェーダーファイルのインクルード方法について(Customノード編)
確認をとった

プロジェクト名はProjects_CustomNode
プロジェクトフォルダの直下にShadersフォルダを作成します。


Glitter.usf
float3 Glitter = float3(0.0,1.0,0.0);

return Glitter;先ほど作成したシェーダーファイルを適用させるために、Projects_CustomNode.Build.cs に RenderCore を追加します。
// Copyright Epic Games, Inc. All Rights Reserved.

using UnrealBuildTool;

public class Projects_CustomNode : ModuleRules
{
	public Projects_CustomNode(ReadOnlyTargetRules Target) : base(Target)
	{
		PCHUsage = PCHUsageMode.UseExplicitOrSharedPCHs;

		PublicDependencyModuleNames.AddRange(new string[] { "Core", "CoreUObject", "Engine", "InputCore","RenderCore" });

		PrivateDependencyModuleNames.AddRange(new string[] {  });

		// Uncomment if you are using Slate UI
		// PrivateDependencyModuleNames.AddRange(new string[] { "Slate", "SlateCore" });

		// Uncomment if you are using online features
		// PrivateDependencyModuleNames.Add("OnlineSubsystem");

		// To include OnlineSubsystemSteam, add it to the plugins section in your uproject file with the Enabled attribute set to true
	}
}
Projects_CustomNode.h を開き、新しく “Modules/ModuleManager.h” を インクルードします。
さらに、継承クラスとして FDefaultGameModuleImpl を宣言し、StartupModule関数 と ShutdownModule関数 を一緒にオーバライドします。
// Copyright Epic Games, Inc. All Rights Reserved.

#pragma once

#include "CoreMinimal.h"
#include "Modules/ModuleManager.h"


class FProjects_CustomNodeModule : public FDefaultGameModuleImpl
{
public:
	virtual void StartupModule() override;
	virtual void ShutdownModule() override;
};
Projects_CustomNode.cpp を開き、IMPLEMENT_PRIMARY_GAME_MODULE の最初の引数を Projects_CustomNode.h 側のクラス名に書き換えます。
// Copyright Epic Games, Inc. All Rights Reserved.

#include "Projects_CustomNode.h"
#include "Modules/ModuleManager.h"

void FProjects_CustomNodeModule::StartupModule()
{
	FString ShaderDir = FPaths::Combine(FPaths::ProjectDir(), "Shaders");
	AddShaderSourceDirectoryMapping("/Project", ShaderDir);
}
void FProjects_CustomNodeModule::ShutdownModule()
{
}
IMPLEMENT_PRIMARY_GAME_MODULE(FProjects_CustomNodeModule, Projects_CustomNode, "Projects_CustomNode" );
以上の流れが完了しましたら、一度ビルドを行います。
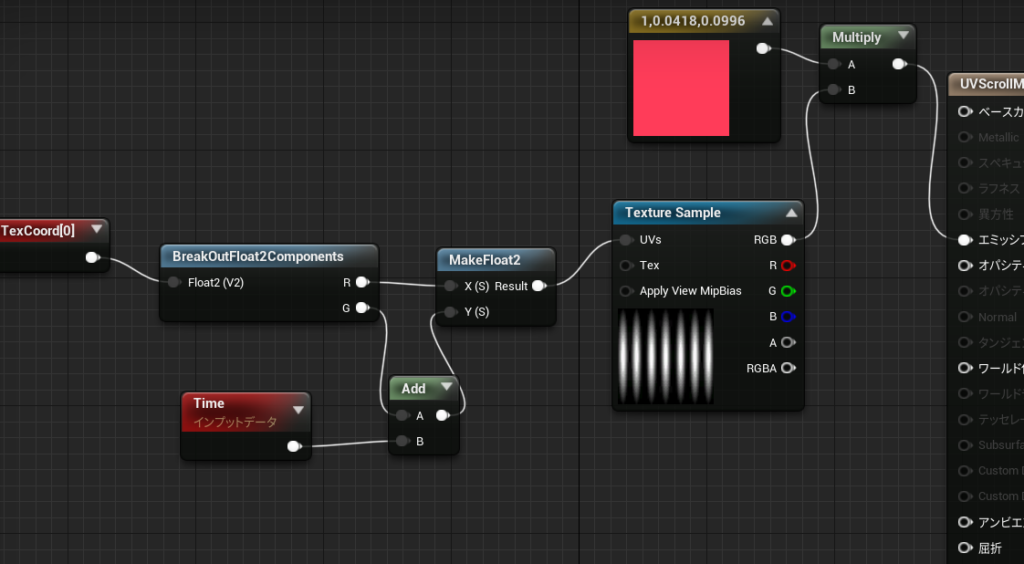
マテリアル作成しCustomノードのCodeに
#include "/Project/Glitter.usf"
return 0;
と入力したらOKでした。

プロジェクトデータ
https://drive.google.com/file/d/1Ro4pcatwqWKCQ64ZUObSndKtIyagYKE7/view?usp=sharing