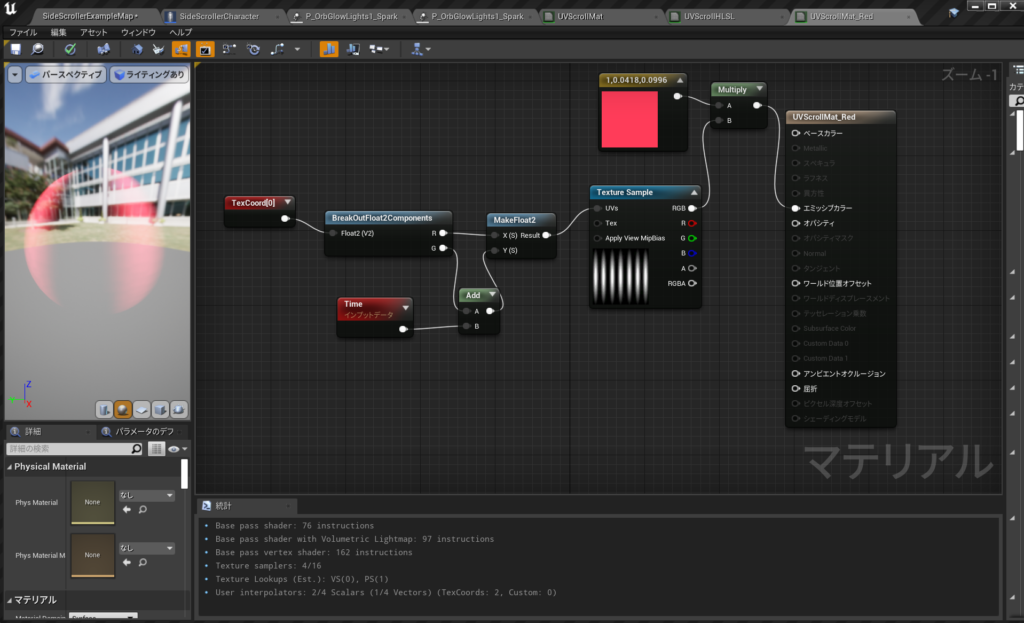
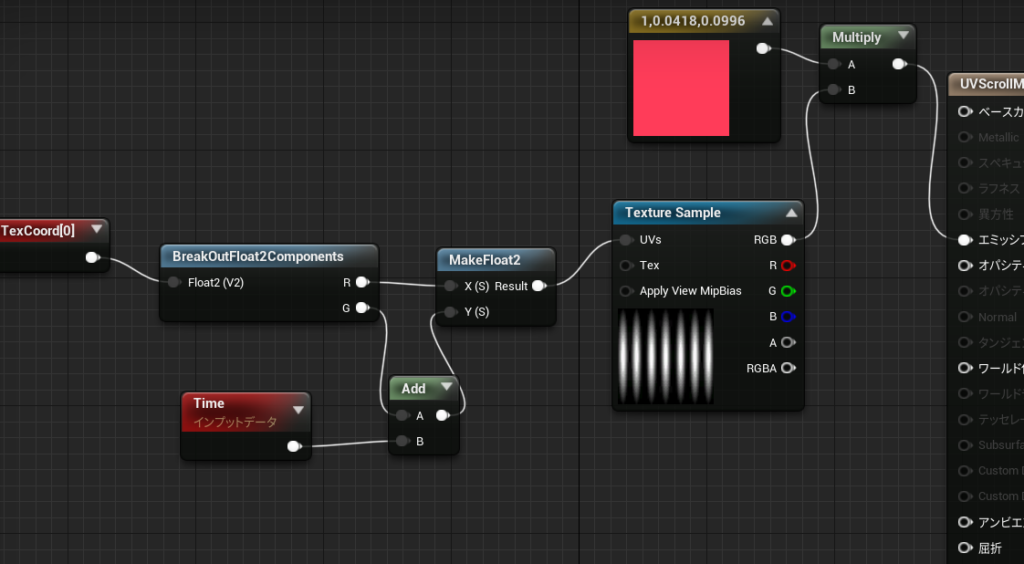
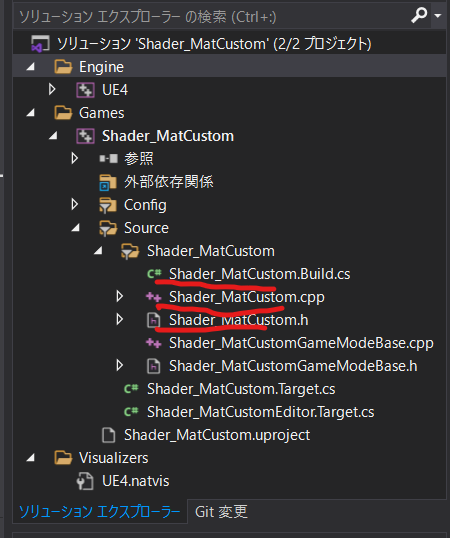
UE4/Engine/Source/Runtime/Engine/Classes/Kismet/GameplayStatics.h
の
static UParticleSystemComponent* SpawnEmitterAtLocation(const UObject* WorldContextObject, UParticleSystem* EmitterTemplate, FVector Location, FRotator Rotation = FRotator::ZeroRotator, FVector Scale = FVector(1.f), bool bAutoDestroy = true, EPSCPoolMethod PoolingMethod = EPSCPoolMethod::None, bool bAutoActivateSystem = true);
デフォルト引数あるやつ消すとこう
static UParticleSystemComponent* SpawnEmitterAtLocation(const UObject* WorldContextObject, UParticleSystem* EmitterTemplate, FVector Location);
をつかった
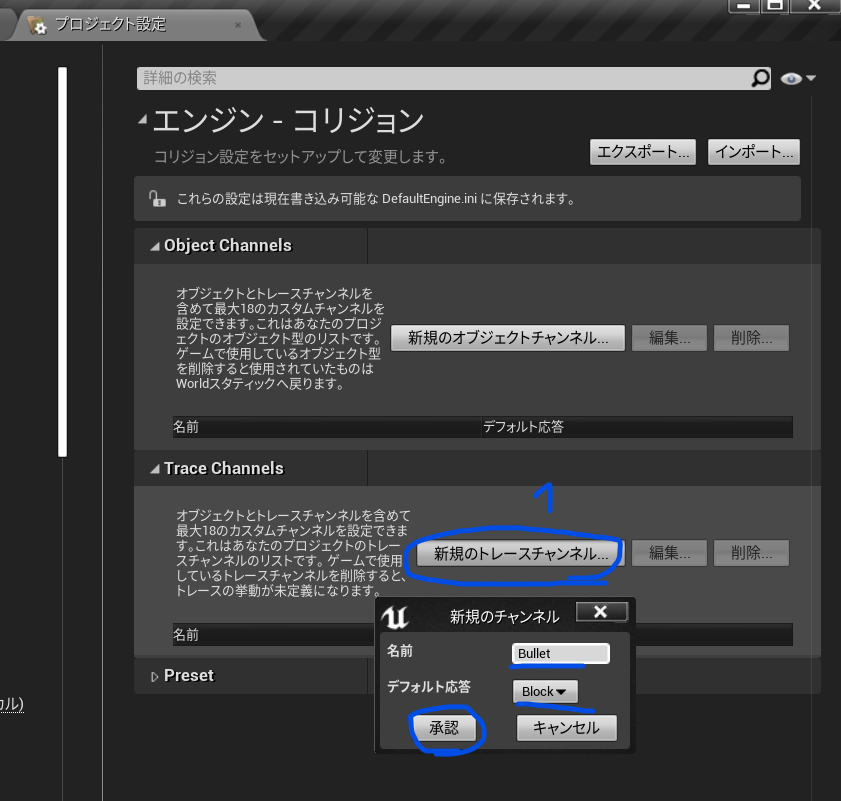
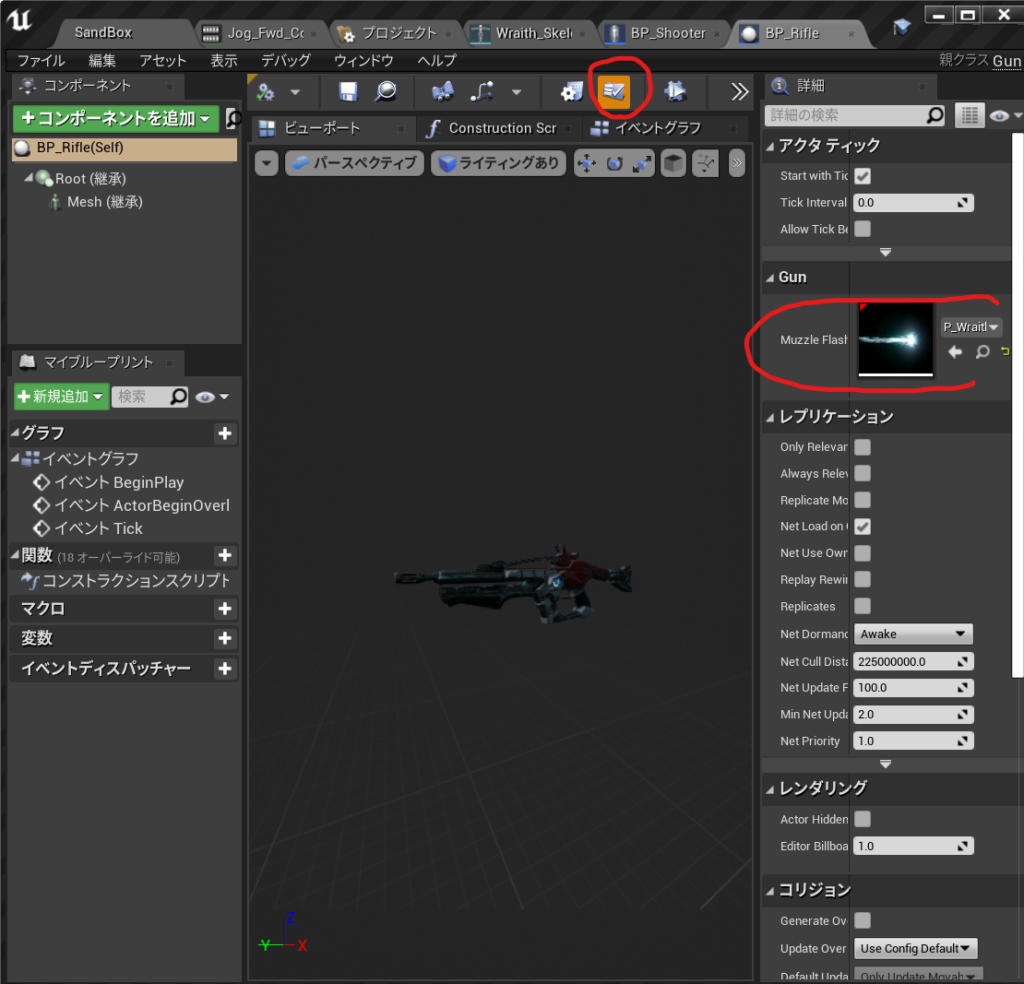
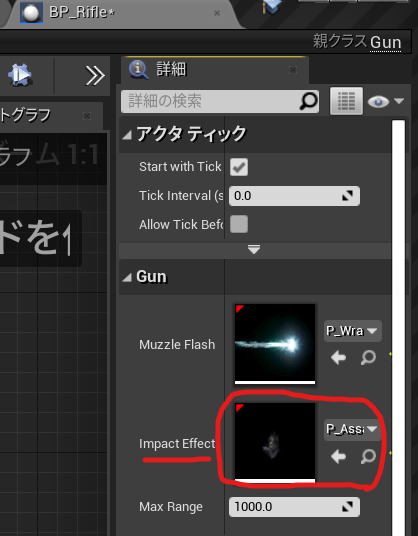
Gun.hに これを追加して
	UPROPERTY(EditAnyWhere)
UParticleSystem* ImpactEffect;Gun.cppに実際にはShotDirection でショット方向をコントロールしてる
FVector ShotDirection = -Rotation.Vector();
UGameplayStatics::SpawnEmitterAtLocation(GetWorld(), ImpactEffect, Hit.Location,ShotDirection.Rotation() );
	if(bSuccess==true)
	{
		UE_LOG(LogTemp,Warning,TEXT("HitWall!! "));
		DrawDebugPoint(GetWorld(), Hit.Location,40.0 ,FColor::Red , bPersistentLines2);
		FVector ShotDirection = -Rotation.Vector();
		UGameplayStatics::SpawnEmitterAtLocation(GetWorld(), ImpactEffect, Hit.Location,ShotDirection.Rotation() );

	}
で作ったプロパティ、ImpactEffectに設定
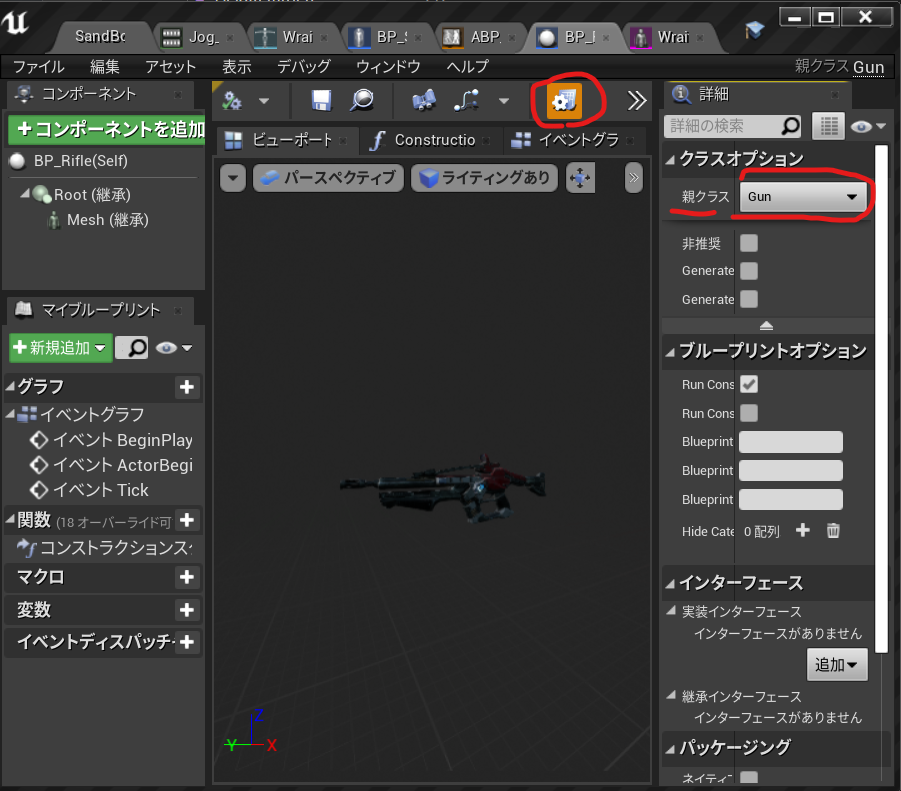
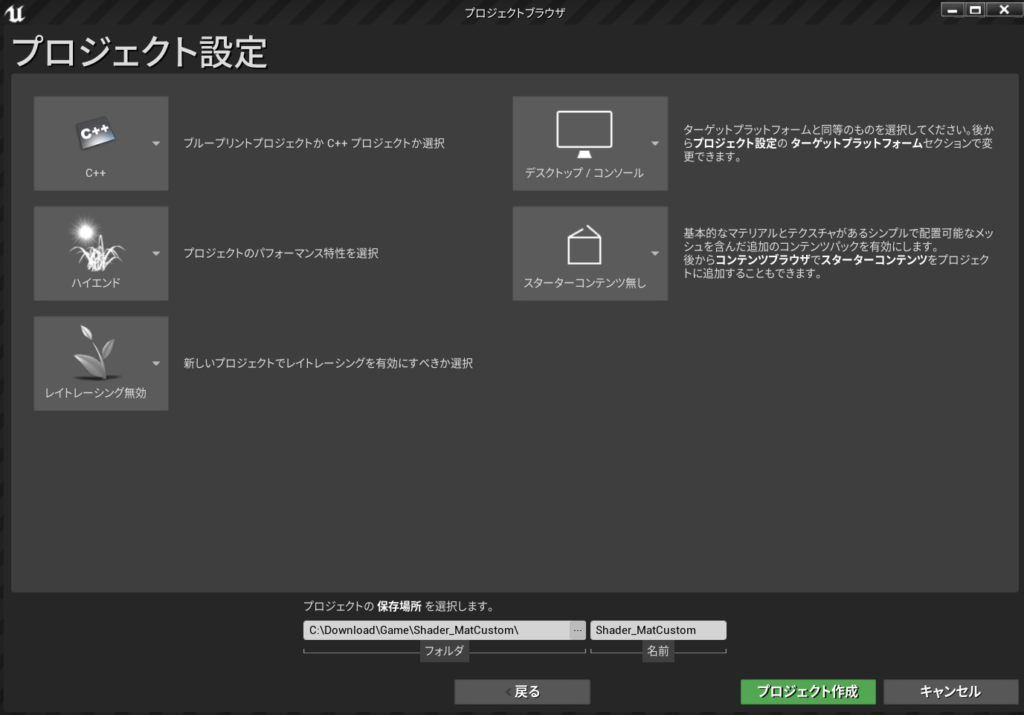
今回の状態 全文
Gun.h
// Fill out your copyright notice in the Description page of Project Settings.

#pragma once

#include "CoreMinimal.h"
#include "GameFramework/Actor.h"
#include "Gun.generated.h"

UCLASS()
class SIMPLESHOOTERCP2_API AGun : public AActor
{
	GENERATED_BODY()

public:
	// Sets default values for this actor's properties
	AGun();

	void PullTrigger();

protected:
	// Called when the game starts or when spawned
	virtual void BeginPlay() override;

public:
	// Called every frame
	virtual void Tick(float DeltaTime) override;
private:
	UPROPERTY(VisibleAnyWhere)
	USceneComponent* Root;

	UPROPERTY(VisibleAnyWhere)
	USkeletalMeshComponent* Mesh;

	UPROPERTY(EditAnyWhere)
	UParticleSystem* MuzzleFlash;

	UPROPERTY(EditAnyWhere)
	UParticleSystem* ImpactEffect;

	UPROPERTY(EditAnyWhere)
	float MaxRange = 1000;
};
Gun.cpp
// Fill out your copyright notice in the Description page of Project Settings.


#include "Gun.h"

#include "Components/SkeletalMeshComponent.h"
#include "Kismet/GameplayStatics.h"
#include "DrawDebugHelpers.h"
// Sets default values
AGun::AGun()
{
 	// Set this actor to call Tick() every frame.  You can turn this off to improve performance if you don't need it.
	PrimaryActorTick.bCanEverTick = true;

	Root = CreateDefaultSubobject<USceneComponent>(TEXT("Root"));
	SetRootComponent(Root);

	Mesh = CreateDefaultSubobject<USkeletalMeshComponent>(TEXT("Mesh"));
	Mesh->SetupAttachment(Root);


}
void AGun::PullTrigger()
{
	UE_LOG(LogTemp,Warning,TEXT("You have been shot!! "));
	//MuzzleFlashSocket
	UGameplayStatics::SpawnEmitterAttached(MuzzleFlash, Mesh, TEXT("MuzzleFlashSocket"));

	APawn* OwnerPawn = Cast<APawn>(GetOwner());
	if(OwnerPawn==nullptr)
	{
		return;
	}
	AController* OwnerController= OwnerPawn ->GetController();
	if(OwnerController==nullptr)
	{
		return;
	}
	FVector Location= OwnerPawn->GetActorLocation();
	FRotator Rotation;
	OwnerController->GetPlayerViewPoint(  Location, Rotation );
	FVector End = Location + Rotation.Vector() * MaxRange;
	// TOTO: LineTrace

	float FOVDeg=90;
	float Scale=2.f;
	FColor const& Color=FColor::Blue;
	bool bPersistentLines=true;
	float LifeTime=-1.f;
	uint8 DepthPriority = 0;
	//DrawDebugCamera(GetWorld(), Location, Rotation, FOVDeg, Scale, Color, bPersistentLines, LifeTime, DepthPriority);

	float Size2 = 20.0;
	FColor const& Color2= FColor::Green;
	bool bPersistentLines2 = true;
	float LifeTime2 = -1.f;
	uint8 DepthPriority2 = 0;
	//DrawDebugPoint(GetWorld(), Location,Size2 ,Color2 , bPersistentLines2, LifeTime2, DepthPriority2);
	//DrawDebugPoint(GetWorld(), Location,Size2 ,Color2 , bPersistentLines2);
    //DrawDebugDirectionalArrow(GetWorld(), Location, End, 3.0, FColor::Blue, bPersistentLines);

	FHitResult Hit;
	ECollisionChannel TraceChannel = ECollisionChannel::ECC_GameTraceChannel1;
	bool bSuccess = GetWorld()->LineTraceSingleByChannel(Hit,Location,End,TraceChannel);
	if(bSuccess==true)
	{
		UE_LOG(LogTemp,Warning,TEXT("HitWall!! "));
		//DrawDebugPoint(GetWorld(), Hit.Location,40.0 ,FColor::Red , bPersistentLines2);
		FVector ShotDirection = -Rotation.Vector();
		UGameplayStatics::SpawnEmitterAtLocation(GetWorld(), ImpactEffect, Hit.Location,ShotDirection.Rotation() );

	}
	//DrawDebugPoint(GetWorld(), End,Size2 ,FColor::Red , bPersistentLines2);
}

// Called when the game starts or when spawned
void AGun::BeginPlay()
{
	Super::BeginPlay();

}

// Called every frame
void AGun::Tick(float DeltaTime)
{
	Super::Tick(DeltaTime);

}
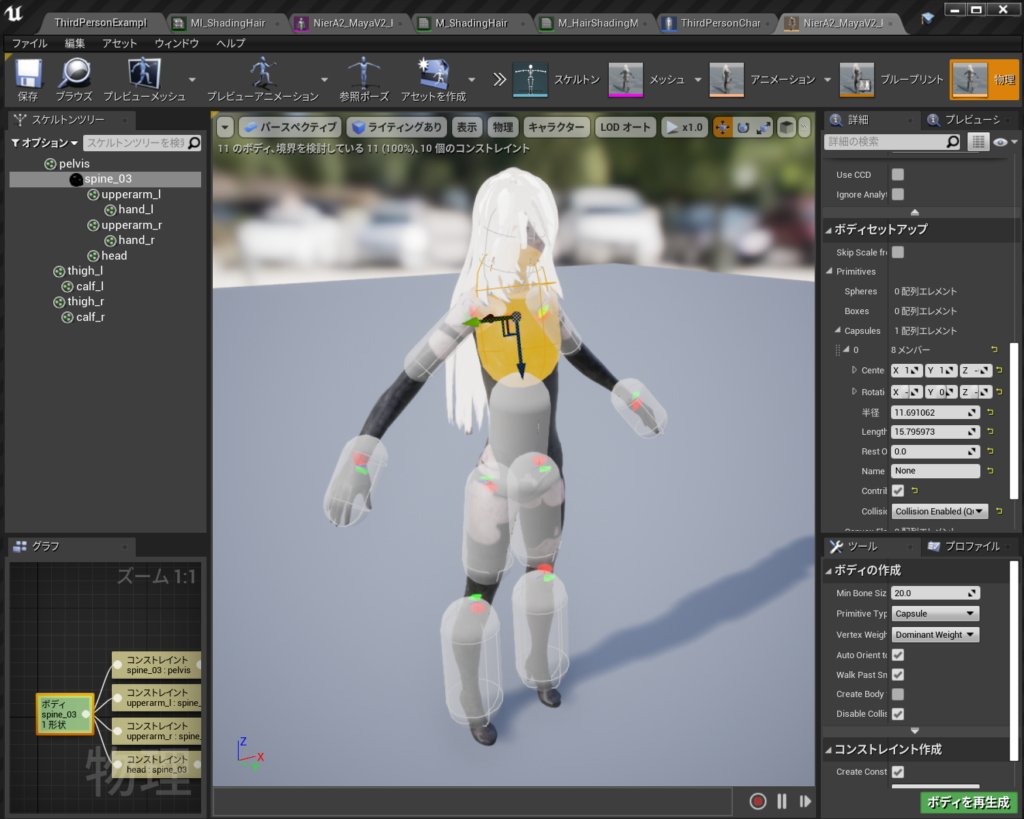
でできたのがこれ